 OK, so this post probably looks odd in the context of my blog — since most of the content so far is made up of (rather silly) pictures of me mixed up with technical content targeted at developers out there. However, if you are more than a coder and you actually get involved in designing and architecturing the app you are working on (and let’s face it, the days of the dumb coder sitting there producing code based on specs are code and most of us are actually doing a mix of everything!), you will probably find yourself rather often having to produce some diagrams to present to the rest of the team or the upper layers. When doing this, quite likely you will find yourself having to produce not just diagrams but some explanatory text around it, since a image is worth 1,000 words (it would better be, come to think of it, it’s taking just as much space on disk!), however, you need on average 2,000 words to describe your design 😀
In such cases, I found quite a few developers to get stuck in terms of what to use — since there are huge numbers of applications for this, each boasting all sorts of features, and unfortunately, each one of them coming with all sorts of cumbersome UI’s which make them quite unfriendly and/or difficult to use. (I wish the writers of such applications would understand that as a developer you don’t want to spend days, not even hours, on reading manuals, you simply want to put a few boxes or cliparts on a canvas, connect them with some arrows and some text.) While I’m not claiming I hold the universal solution to this issue — one has to factor in personal preferences into this! — I found my “solution” to actually work in a lot of cases, and most of the friends I recommended this have seem to take onto this right away; with that in mind, this post is meant to propose a (what I perceive to be) simple way of achieving the above with simple tools.
To start with, I will confess to being a Microsoft Office user — I do use a Mac nowadays, however, I am yet to find something that works better than Office with my MS Exchange account, my Android phone, my emails, and all the attachments that I receive on a daily basis. (Yes, I had a go at Open Office and I have to say that occasionally the compatibility with the newer versions of MS Office lags behind a bit, which is why I gave it up — I have my best hopes in the developers of that solution, but last time I checked, it wasn’t quite ready for universal adoption I thought. However, since Open Office is still pretty close to MS Office, you will quite likely find that this applies to using the Open Office tools too!)
As such, when I sit down to write a design spec for a software component I’m working on or for some hardware/network design, I use Microsoft Word — it’s great for quickly putting together some text and reviewing it constantly. It also allows me to paste in images in various formats, as you all know — which means I can actually design my visual diagrams in anything I want, as long as the tool allows me to save it to some recognized format (I’m talking png, gif, jpeg and the likes).
Now when it comes to diagrams, Microsoft has this tool called Visio — however, the pricing for that makes it rather prohibitive for a regular user. (I believe at the time I’m writing this that a license for MS Office is around $ 2-300, whereas Visio retails at around $500, a bit too much for my pocket!) If you have that tool then quite likely you don’t need to read the rest of this since you will have most of the things you need there — though it’s worth checking out the cliparts I’m talking about later on! However, if you’re in the same boat as me, stuck with just your standard MS Office, then you have MS PowerPoint, MS Excel, MS Word but no MS Visio. In this case I strongly advise you use just PowerPoint for your diagrams!
Yup, PowerPoint is an awesome tool for simple diagram-ing, if you know how to use it. Simply start with a blank template — delete any elements that PowerPoint might create — the typical blank template will look something like this:
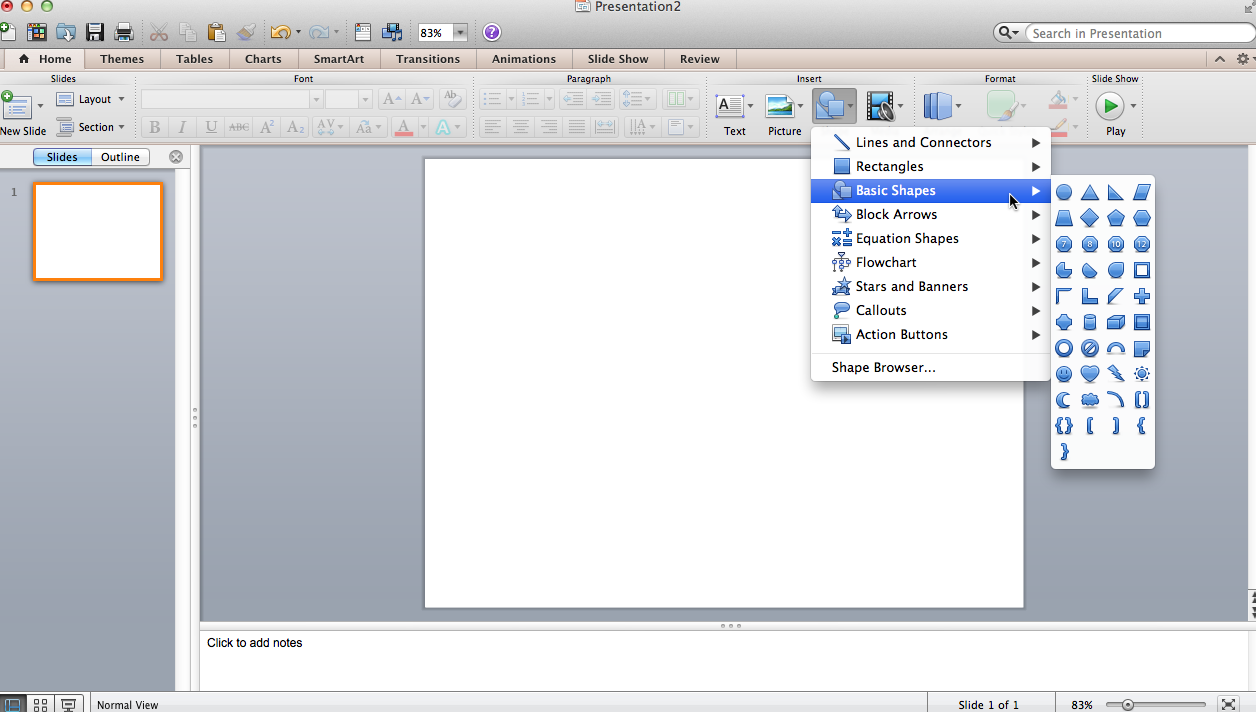
And you will be left with a white canvas — perfect to start your diagram with! PowerPoint already has a few basic shapes — if you access the Shape menu, you will find a whole bunch of boxes, circles, and even basic process icons:
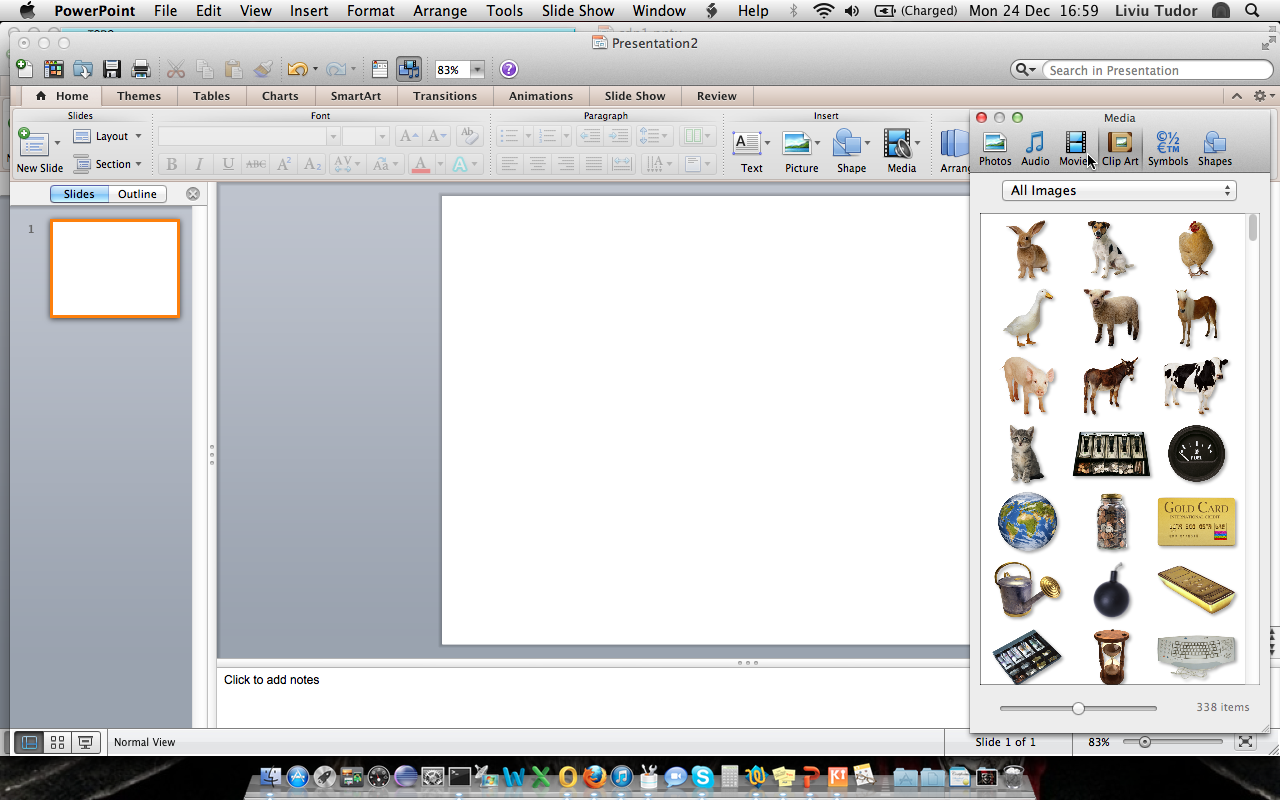
Also, it has a few cliparts pre-installed — go to Picture –> Clip Art Browser… and you will see something like this:
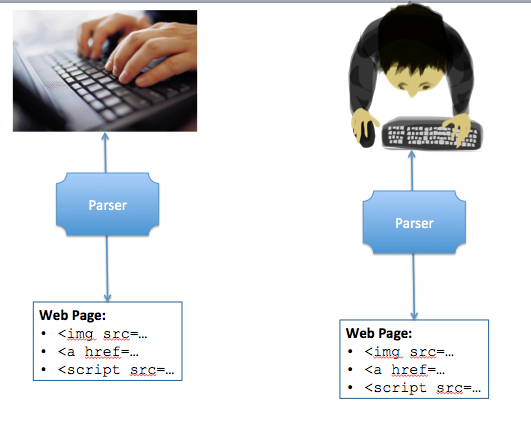
However, the annoying bit about this is that there are only a few — some of those are full-on photos, some are proper (drawn) cliparts; this can make it difficult to mix the above-mentioned shapes with the cliparts. It looks weird to me mixing a full photo with a blue/black rectangle — whereas a proper clipart looks better, here’s a quick comparison of what I mean:
Even using the likes of iStockPhoto or any other website which allows you to purchase stock photos doesn’t solve the problem — it simply gives you more choices in terms of the photos, but in most cases they still look weird mixed with the other shapes PowerPoint generates. So this is my little trick: use http://openclipart.org ! That website has a whole bunch of cliparts you can download and use in PowerPoint. Most of them are actually vector graphics as well (SVG), so if you want, you can even make changes to them (though, to be honest, why would you? I found all of them to be just grand as they are!) — however, you can also download them as PNG too — and then easily paste them in PowerPoint, resize and reuse to your heart content!
When you browse to an image (I’ll refer here to the image of a floppy disk — purely because they don’t exist anymore and my nostalgic nature misses them somehow 🙂 the image is here: http://openclipart.org/detail/23916/floppy-by-anonymous-23916) you have 2 buttons which allow you to view and download the image: “View Image” and “PNG” (In fact there is a 3rd one “Edit Image” which allows you to edit the SVG graphic online and save it!):
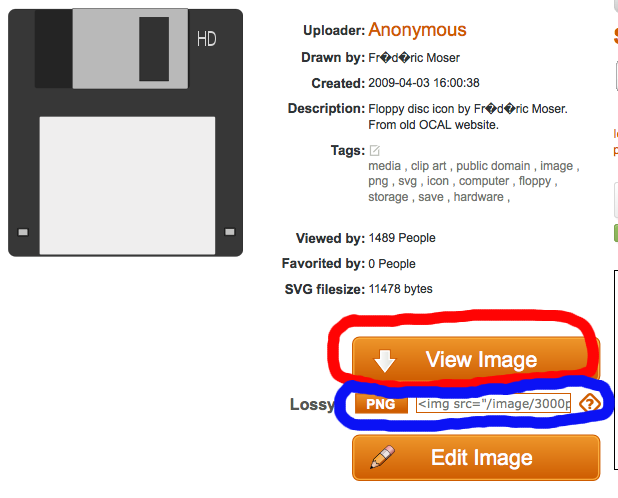
The “View Image” allows you to download the SVG source — you can then edit it I suppose and even convert it to whatever format you might need, if you are hardcore of a user. I’m not going to go into details about SVG because frankly I don’t use that.
The more interesting controls on that page are the ones next to the “Lossy” label: the “PNG” button and the text box. These 2 combined give you a powerful tool for getting your cliparts from the website: simply clicking “PNG” will convert your image to PNG and display it in the browser — from there on you can drag it onto a folder and save it or stick it straight into PowerPoint, the choice is yours. The text box next to the button is even more interesting: it allows you to specify a “resolution” to generate the PNG in. The reason I used quotes around resolution is because, it’s not really the resolution you specify there, but rather a desired width — the system will generate an image with the width approximately equal to the one you specified. So if you need a high-spec image, go ahead and specify 2,000 pixels and you will get a huge image; if you need just an icon, probably 100 (pixels) would do. Or, if you don’t specify nothing, the default will be 800 pixels — which to be honest is good enough for most cases.
Either way, once you have the image, save it somewhere (who knows, you might want to reuse it in a later diagram?) and then drag it into your PowerPoint presentation. Keep doing so until you put your diagram together into one slide then save your PoowerPoint presentation as you would normally.
Now, here’s the trick: you have a Word document and you also have a PowerPoint presentation file with one slide which contains your diagram. You can of course think of embedding the PowerPoint slide as an object in the Word document, but I find that rather messy to be honest –I’m sure there are reasons for allowing one document to be actively inserted into another, but I like my things kept simple, as such I prefer to insert a picture of the slide, and not the slide object itself!
Luckily, this is possible since PowerPoint allows you to export slide by slide as PNG — simply use the menus: File -> Save As Pictures … :

And you will be prompted with a dialog like this one, which allows you in fact not just PNG, but JPEG and a bunch of other formats:
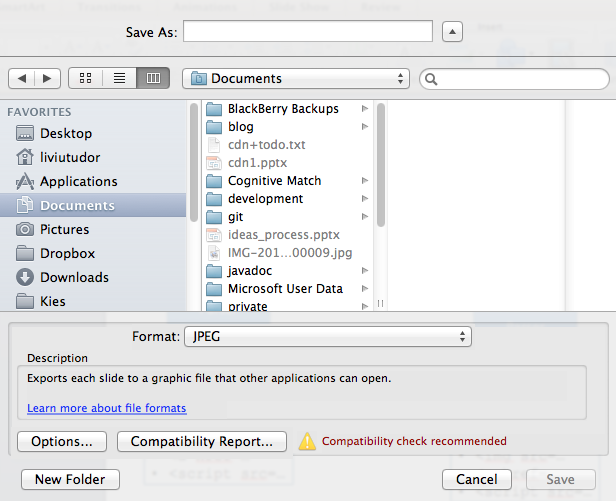
I prefer PNG as it has more features than JPEG, however, it’s a matter of personal preference — simply select the desired format and you will have your images generated, one per slide. From there one add the one for the slide you need in your Word document and you’re all set.
As a last advice, I tend to keep both the Word and the PowerPoint document together — you never know when you might need to review/change the diagram, and if you need to do so, simply change the PowerPoint slide, save it and export it as an image again, replace it into your Word docco and you’re done!